Showing posts with label homemaking. Show all posts

Saturday, May 26, 2012

How to make a Birthday {Frame} Banner!

I LOVE BIRTHDAYS! They are so much fun and planning a party for someone special is a good way to show you care!  But it's the details that really show your love.  Here's a project that is quick, easy, and you don't have to have any crazy skills to do it!  A unique and beautiful birthday banner is in reach!


So, I started in my mind with a more traditional type fabric banner.  However, that seemed less than quick or easy, so I thought "cardstock!"  The theme of Mr. S's birthday party was board games, including monopoly, so what better template than a monopoly deed card.  Each card is a letter.  I created the template in photoshop, but you could print each letter on a mailing label and cut it out to cover the monopoly deed info on the card (leaving the color exposed).


Once I had my cards made, I picked a ribbon and affixed them with small wire hoops usually reserved for jewelry making.  Punch holes in the top of the cards for the hoops. :)


Now, at this point I had intended to affix this banner to the brick of the fireplace, but HOW???  Then it hit me!  We had a big, beautiful, frame out in the shed that I had planned to paint and hadn't yet.  So, I thought, "why not?!"
The frame is about 24" x 30".


So, I stretched the ribbon across the back of the frame and stapled it in place so it hang the way I wanted.  And that's it!  It was super easy.  And all it was completely free (because I had everything in my house already).  It turned out to be my husband's favorite thing about the party and it is STILL on our fireplace!

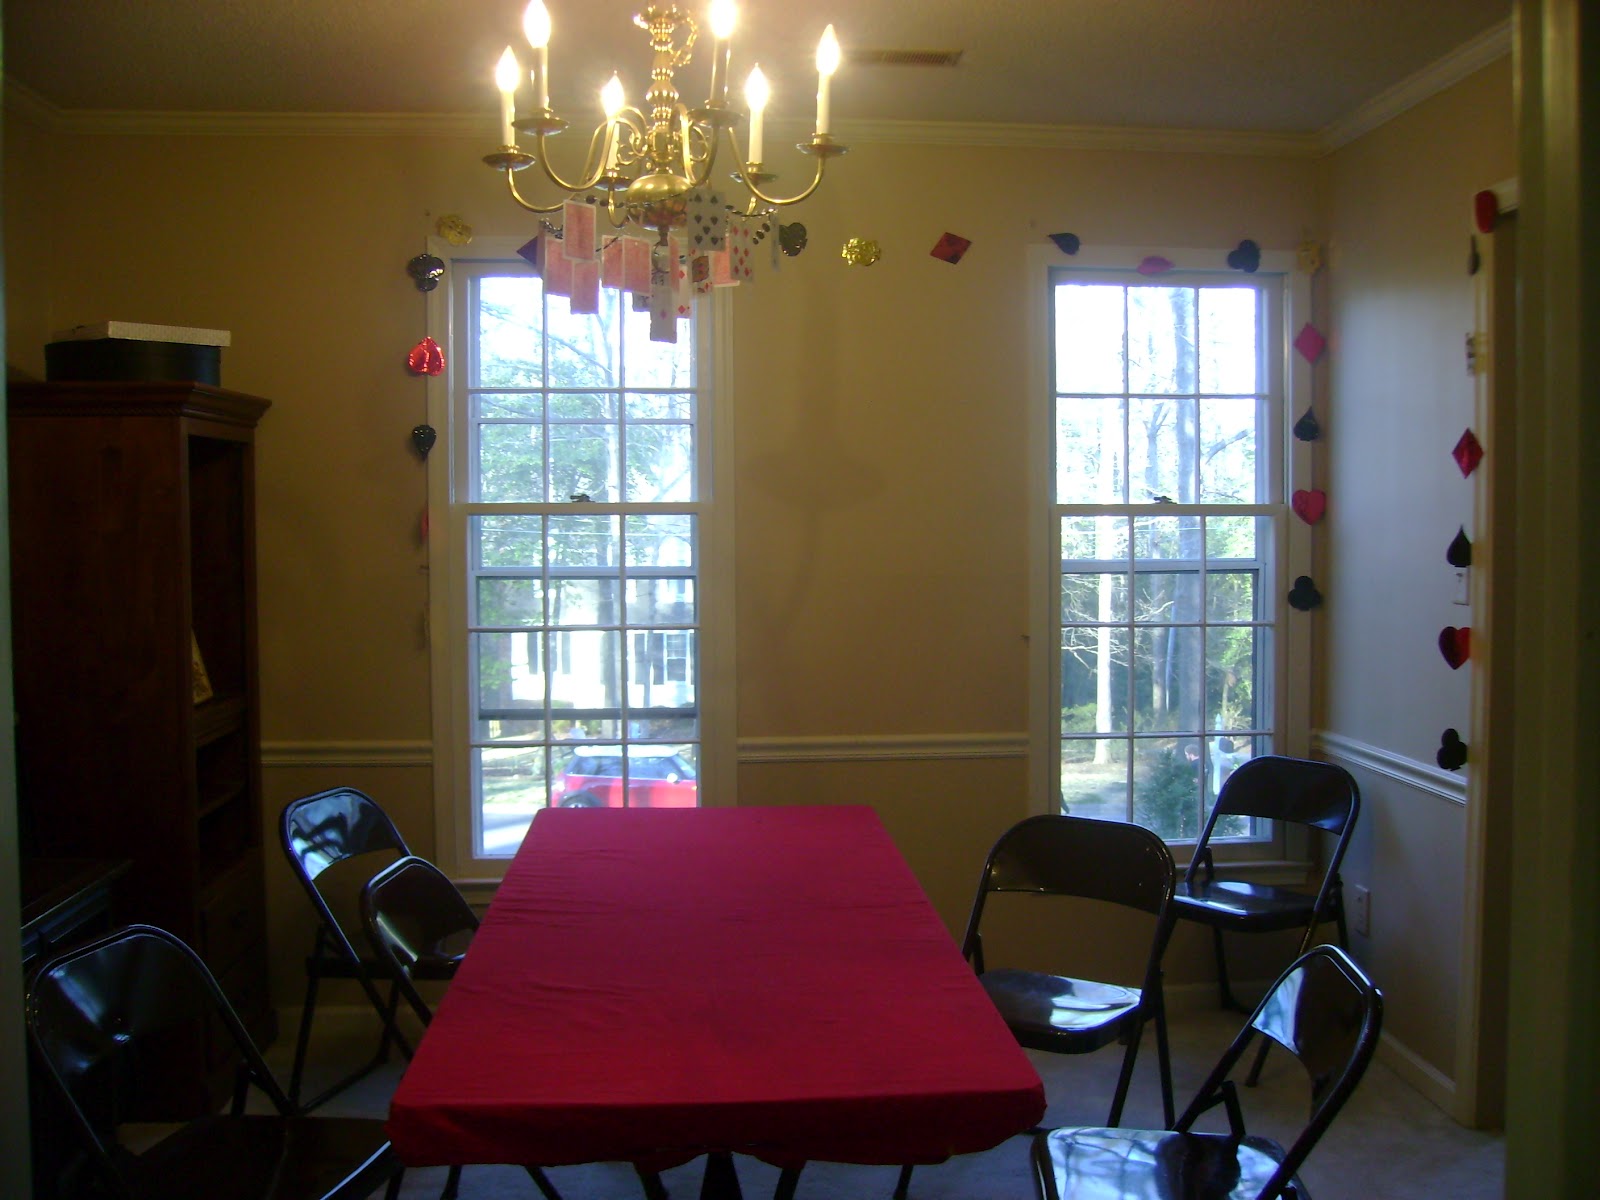
Hard to see details in this pic, but you get the idea :)

Recap:
Materials:  Picture frame {large}
                Ribbon
                Cardstock
                Stapler/staples
                Wire rings
                Hole Puncher

Program to make card:  Photoshop, but you could use Microsoft Publisher or 
                                 Word


I want to make one of these with our name and hopefully will post pics soon!

How to cover your {ugly} walls

Missed everyone while I was gone.  It has been a crazy few months.  Getting Little S ready for school and Mr S has been so busy with work.  I, too, have been busy doing freelance work for a few clients, so forgive me my absence, please. :)


Hope you are all doing well and as promised (if not much later than I intended) here is how I covered the ugly walls of my sunroom for Mr S's big 30th birthday bash! {Seen here}


Materials/Tools:
Fabric of your choice ( I chose white satin)
Dowel rods (I used 3/8") or curtain rods that you will use
Command hooks (check the weight) 2 for each panel
Measurement of walls you need to cover {height x width(2)}


Steps:
1.  Cut your fabric to twice the measurement of the wall you wish to cover. Adding 4" to the length.  If you want/need to sew the sides, give yourself an extra inch in width as well. 


Note:  In my case, I needed several different sizes and chose to cut and sew them all at one time, so I labeled them "a", "b", "c" etc to keep from getting confused and stuck sticky notes to the wall with the corresponding letter.


2.  Turn the top edge under 1/2" and press, then turn another 2" and press.  Stitch a 1/4" along the edge to create a pole pocket for the dowel.  **You can do the pole pocket whatever size you like.  I created a generous pocket as to allow me to use these on different dowels in the future**


3.  Turn the bottom edge 1-1/2" and stitch a bottom hem.
**If you were going to turn the sides in and sew them, do that before the pole pocket/hem**


4.  Place command hooks at the edges of the walls you wish to cover.  Make sure you leave room to put the dowel over the hook.


5.  Cut the dowels to fit the hooks (they can extend to just the edges, but they fall kind of easily, so let them extend slightly passed the hooks.  Once they are cut, thread them through the pole pocket.


6.  Hang them on the hooks and....


Voila!! Your ugly wall is temporarily covered.  This whole method could work for making curtains too, just make sure you make it all look pretty and neat if you're trying to do curtains.  Here are a few shots of my unfinished sun room with it's white satin wall covers.
Not a permanent solution, but a perfect, cheap,
short term solution!

With the black table cloths, red tissure paper flowers, and white curtains,
it isn't noticable that the room isn't finished!


Links to sites I used: White Satin  http://www.onlinefabricstore.net/satin-fabric/bridal-satin-white-fabric-.htm
More white satin:  http://www.efavormart.com/108x50ydtullebolt-white.aspx  (the fabric from here was much thinner than what i orderd from amazon, but it worked well)
Black table cloth:  http://www.smartyhadaparty.com  We bought these for our wedding and have kept them for occasions such as this!
Dowels:  Michael's
Command Hooks:  Walmart


All in all, the panels cost me about $40.  The reason I didn't bother with side seams on any of them is because I wanted to be able to use the fabric later, since it was the most expensive part.  Hopefully, this inspires you dress up your home without breaking the bank for your next party!


Friday, April 6, 2012

Awesome Scrabble Letters {epic fail}


Not all DIY projects have a happy ending...luckily for me, I found a way to turn this epic failure into a success story!


So, if you're at all in love with Etsy like I am, you've probably seen lots of cute things and thought, "oh, I can't afford that, maybe I could DO it."  For me, it was huge scrabble letters for Mr. S's 30th birthday party.  I mean, you can't have a game themed bash without scrabble letters!!  Well, when I first checked a few sellers for large letters, I was looking at about $6 - $8 each {a steal for home decor} but as I was going to use them to spell out "FOOD" and "LOVE" and 1 custom designed one, I really didn't have the budget to spend about $70 on this part.  So, I started Google-ing tutorials.  I found a few that appeared promising (links at the bottom) but went with this one from Green Wedding Shoes.


First, you need the wood blocks.  If you are fortunate to have a miter saw or table saw, you can buy long, thin boards ( think 1/2 in x 5 in x 48 in) in the building supply section of your local home improvement store and cut them at home.  Some stores will cut it for you, but that's WAY less fun! ;)


Cut the board into square pieces based on the width of the board.


Next, is printing your letters onto the wood.  So if you jump to the bottom and check out the other links, you'll see that a laser jet printer is one requirement.  This is because all of these methods of transferring some image/letter/etc onto wood uses water to remove the paper.  A laser jet printer uses heat to melt a powdered ink to the paper, which bonds it there and that's why photocopies don't get all ink-runny when they get wet, but papers out of your home printer do.  (As most home printers are inkjets which use water soluble ink.)


However, the directions from Green Wedding Shoes are not specific to the type of print necessary and I had all the other items I needed from that how-to.  So...off I go creating from their directions my scrabble letters
 (printed backwards!) on card stock to become my awesome scrabble letters...here we go:


So as you can see....I started by running the card stock under water like the instructions said, but this wasn't working {and I PAY for my water...so it's wasteful to just let the water run} so I decided to turn it face down in the sink of water.  In the instructions it says the card stock should release and come off on it's own...but...you can see that it didnt... So as I used more water and rubbed the paper off the ink began to ran!  The ink ran probably because I used an inkjet printer.  Should have known better....


I ended up with this:


Not so pretty and definitely not going to work (imagine I had 3 other letters to go!).  Luckily, I only did the word "FOOD" first as a test.  Unfortunately, I waited a while to do these thinking they would go smoothly and there were too many other things to worry about to do them over...so WHAT TO DO!?


First, I had to breathe...and think...and let them dry, because they were very wet from being in the water and they were warping from the expansion (caused by the water).


In design school we did some pretty extensive lines with sharpie markers when we would forget to hatch wall sections and such on the computer before plotting.  So if your scrabble letters looked like this and you have a steady hand....don't worry!  I used a fine point Sharpie marker to trace around the letter and number like this:


Fill in the small number with the small sharpie, because the larger one would've looked fuzzy and not crisp enough.


Then fill in the rest of the letter with a larger tipped sharpie.  You can use a fine point on the entire thing if you have that kind of patience...


I don't know why blogger wants to
 rotate this image?!

So here is what I had when it was partially done...


Once all the letters are filled in and dry, you can spray the whole block with a clear top coat to protect it, if you wish or if it is going to come into contact with water.


And here's what they looked like with the sharpie fill-in:


I don't think they turned out too badly! :)  If you want to see them in the party, check them out here!


For how to's (that might actually work for you! lol) try these websites:
Wholly Kao's Photo-to-Wood transfer
Green Wedding Shoe's tutorial
PetaPixel's Wood Block Photo

And here's one I hadn't seen before I did this for transferring color photos to wood using an inkjet printer and t-shirt transfer paper!  From another power-tool savvy lady!  Tool Girl Mag Ruffman

Hope you have good luck with your photo to wood transfers!! I think next time, I'll just buy the letters! ;)

Monday, April 2, 2012

Board Game Bash Recap {Pt 2}


Now that you've seen the food of the Board Game 30th Birthday Bash, let's look at the decor!  {If you haven't seen the food, click here}


Creating a distinguished looking party that celebrated Mr S's 30th birthday and showed off our new home was a must!  I wanted to balance the decor around the house, as our house is fairly compartmentalized, and we had many guests.  I knew everyone wouldn't fit in one space.  If you can fit everyone in one space, it will definitely make decorating easier!


I decided to keep the decor in our newly finished living room fairly low-key, so people could see all the hard work we'd done in there!  The sun room {previously untouched} got more attention, as did the dining room - where a poker set and card decorations made a fun space, and lastly a few decorations tied the kitchen breakfast nook into the party.  Ultimately, the kitchen became the quiet spot where I could go for a break!


So check them out!

Sun Room
Black Cardstock and wide {non-wired} ribbon created a domino effect on the ceiling.  I used Scotch brand reusable adhesive.  The ribbon didn't stick well to the adhesive, so that took a bit of work, but this would have worked without the ribbon to be dice!

Curtains?? Yes....unfortunately, we haven't finished the walls in our sunroom!  The sheetrock is still bare and the joints don't even have mud!  So, to distract from that, I created white satin {temporary} panels to cover all the places with bare sheetrock.  Luckily a sunroom has lots of windows, which helped keep the amount of bare sheet-rock to small sections (4 - 11 inches wide) and I used about 10 yards to create 8 panels.
You can see the panels in the background of
this picture.  Although you can still see the
unfinished sheet-rock at the top of the windows,
it is definitely less visually intrusive!
Living Room
Little S reading after the party has died down!  The birthday banner was really the only decor in this room, besides a few extra card tables for playing games!
Dining Room
A card chandelier is an inexpensive, fairly easy, way to jazz
up an old chandelier.  Though this isn't quite the impressive,
massive card chandelier, I'd hoped for, it's cute.  Everything
can't be perfect, right??

A 6' banquet table makes a perfect
poker table

The Breakfast nook gets a primary color pop to help tie it in to the party.  The giant playing cards (which were stuck to the windows...) helped block some of the harsh sunlight.


Again, I used a combination of store bought and DIY ideas for the party to keep my sanity and save time.  There were certainly other things I wanted to do that didn't happen, but that's what happens with a budget of time and money!


Tutorials to follow:


Making simple panels {temporary or permanent}


Happy Birthday {Frame} Banner


Card Chandelier


Enjoy!!  Let me know what decor things you would create!


Friday, March 30, 2012

The Little Table that Could


Ever just get lucky?  Like designer lucky?  It happens to Mr. S and I a bit.  And I'm learning something from it...
Make a piece work for YOU even if it is an "antique" piece, it doesn't have to stay in it's original style/color/finish.  Especially if that style/color/finish doesn't work with your home.  I've tried over and over to force-fit things into my life that I didn't {LOVE} because they were antiques and I was afraid to change them!  But fear no more! :)  I just decided this weekend, if I'm going to cherish everything exactly as it is, I will ALWAYS have a "designer's block".  

So here's the {antique} table that became the crowning glory of my breakfast nook.

First, you should know this table was FREE.  Always, always, always think about what you can do with Free.  Especially if you are on a budget.

                                 
The original table top sanded down to a beautiful, natural color with it's pits and scrapes.

An amazing thing happens if you just sand down or strip a product down.  Suddenly, you have a blank canvas.  You can be inspired anew!  It's ok to change directions after you've started.  Mr. S and I sanded this table and pedestal down before picking out stain colors, because we figured the color didn't matter until the stripping was done!  I'm glad we waited because we ended up agreeing on a brighter green than previously imagined. :)

The pedestal base.  I'm in LOVE with the green

The top after being stained a honey oak color.


At the moment, I don't have dining chairs that I love, but I've been inspired by the vibrant green of the pedestal, which is a complete stain-newbie mishap.  I didn't TEST the green stain before using it, nor did I use a wood conditioner to make the stain take evenly.  I ended up with a very uneven, more vibrant, green than I had anticipated.  And honestly, I love it!  I feel like I always fall back on Bob Ross when it comes to art, but he always said "there are mistakes, just happy little accidents" (at least that's the way I remember it). And I totally believe that.

And the finished product???

My beautiful, inspiring {very} green table! :)
This is my $25 breakfast masterpiece!  All $25 went to sand paper, stain, and brushes.  I own an orbital sander and used that for all of our sanding except on the curves of the legs and there is one metal band around the bottom that I want to cover with a copper strip {or spray copper} but for now, it is just there and we don't notice it.

The one thing I would say is that I felt the Polyeurethane/Stain in one (I used on the top) did not work very well.  Maybe this is just me?  Anyone else have trouble with that?  Whenever I wipe my table clean, it seems the stain/poly is coming off of my table.  Any others encounter this or know what I've done wrong?

There once was a kitchen inspired entirely by green Marjolica pottery.  If I ever find that magazine/article, I will link it for you to see!  This table reminds me of that kitchen!  Now...what to do for chairs...

Monday, March 19, 2012

M.I.A. in the quiet blogsphere...

>tree frogs singing....owl hooting...breeze in the trees<  
Wow...it's quiet out here...Sorry I've been M.I.A.  It's certainly isn't for lack of WANTING to blog.  My {not so great} camera had decided it doesn't want to give up the photos of my living room!  Evil thing.  So I am trying to find a way to download photos.  I may have to break down and go buy an adapter for the memory card so I can just put that in my computer....don't you just love technology! :)  Either way, here are some iPhone photos of future projects to keep you updated!

Picking a Paint Color!

Breakfast Nook Table Restoration

Industrial Cart Coffee Table {for less}

Recreating a {favorite} Pillow